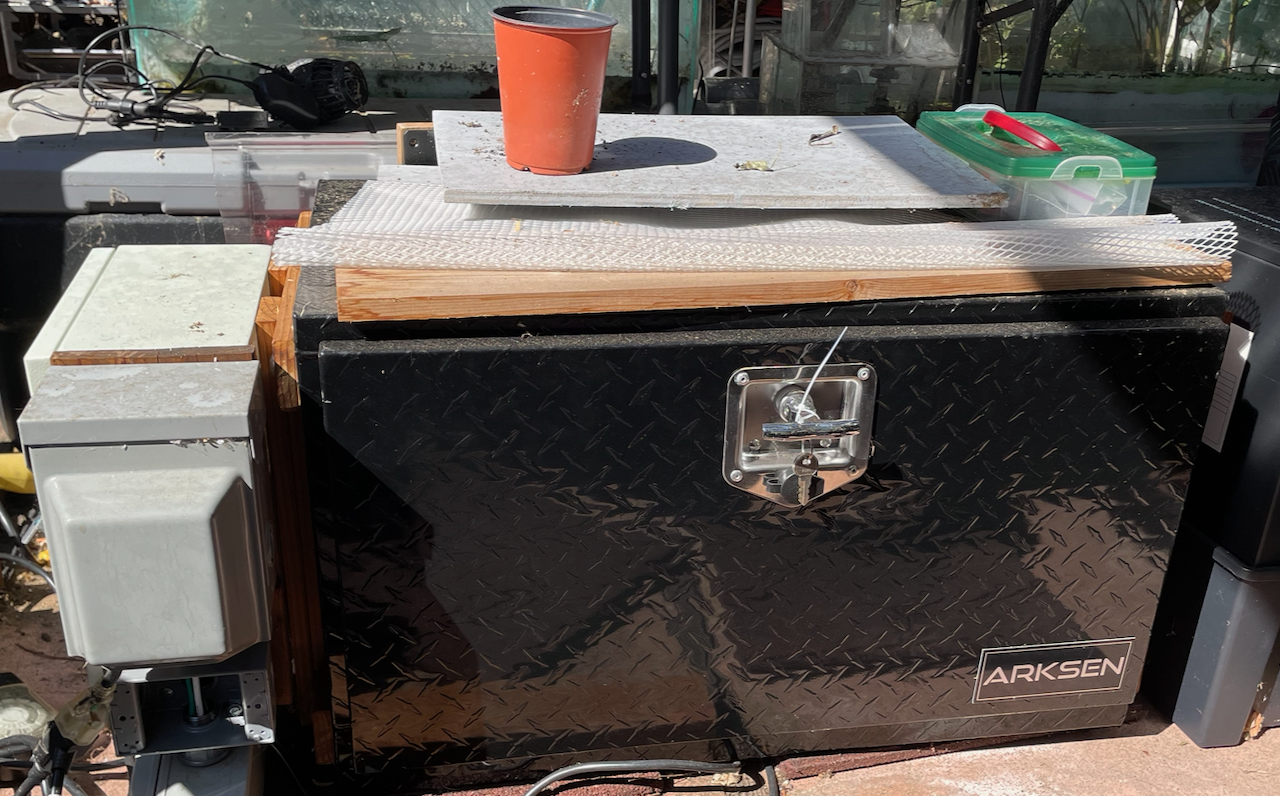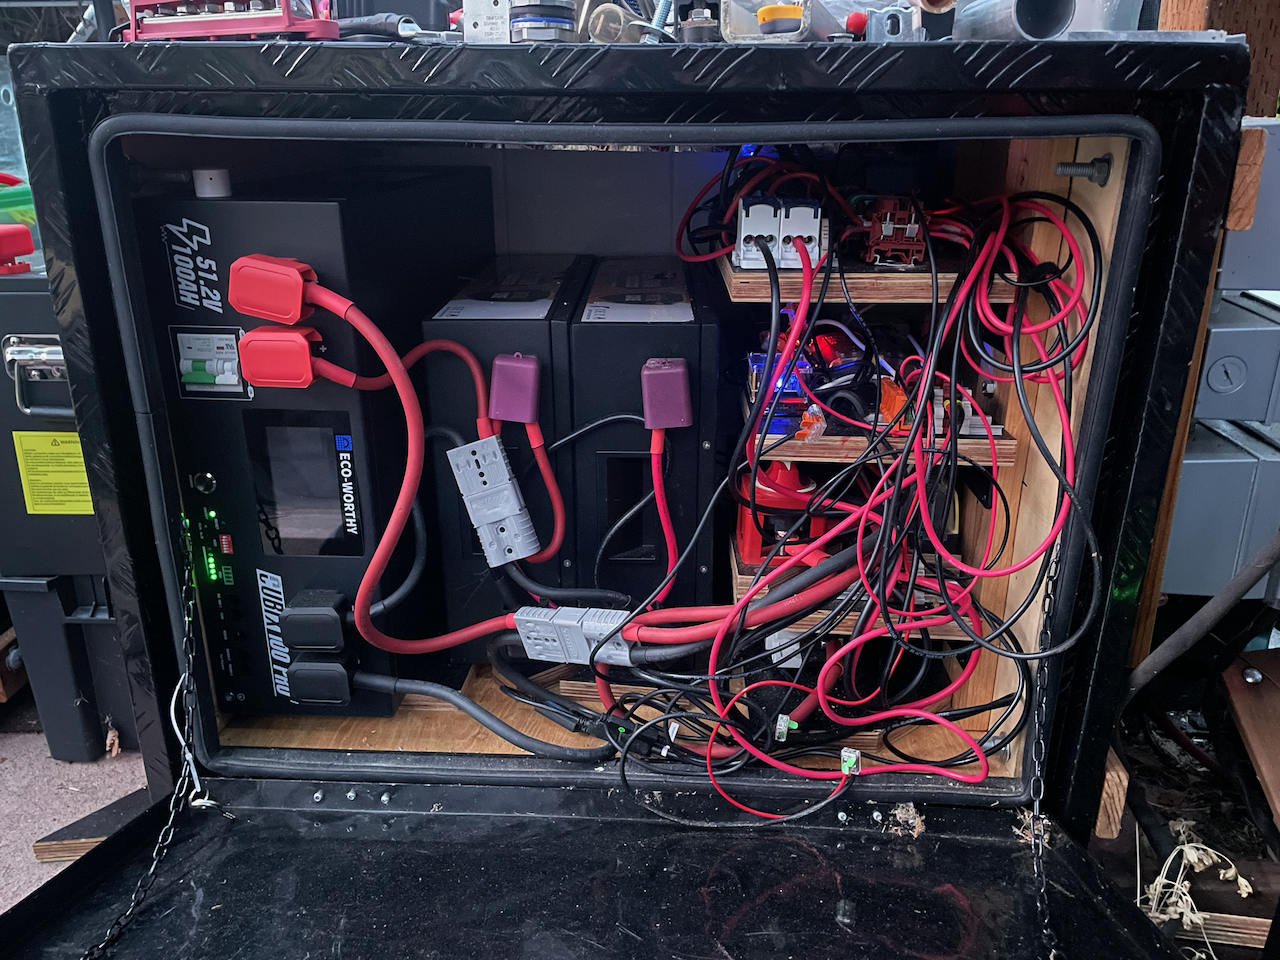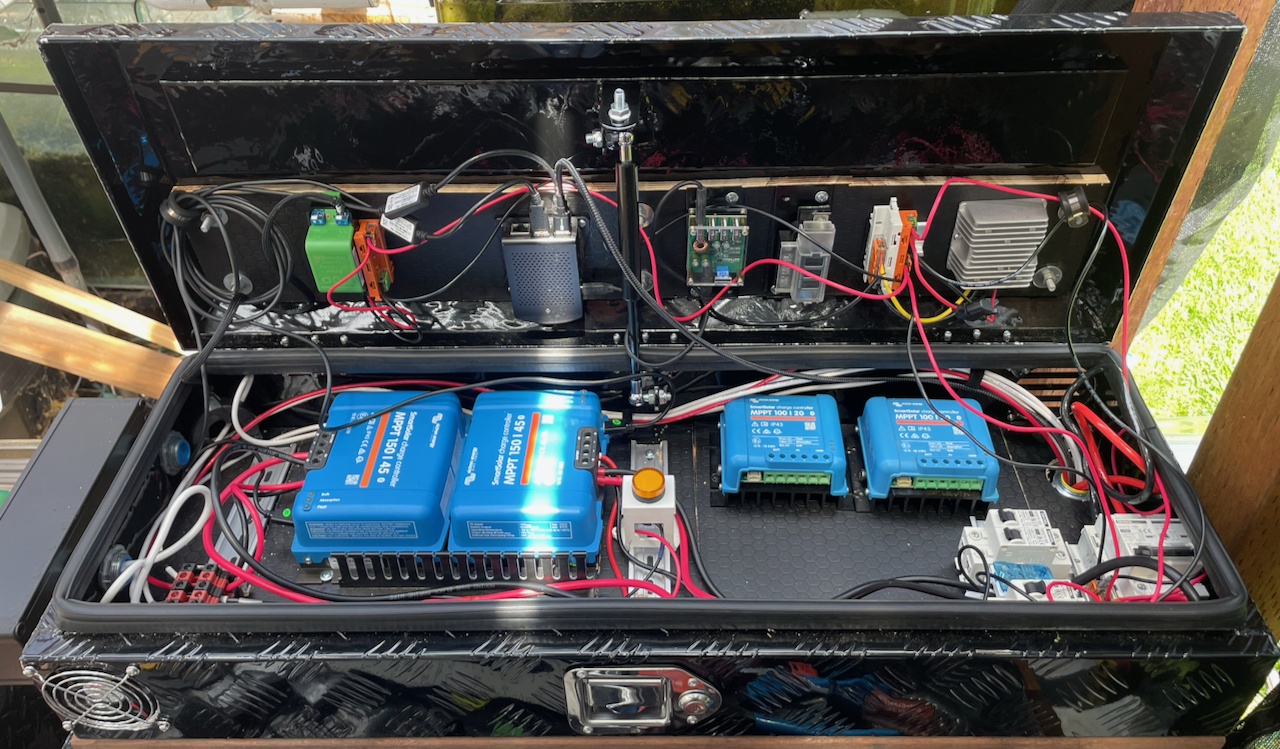
PowerVault Gen-1
A PowerVault is a weather-resistant chest that provides for safe electrical usage outside of the confines of a sheltering building. It is especially designed to leverage modern solar and battery power capabilities to provide electricity in house-adjunct (e.g. a pergola, shed, garage, or ADU) and off-grid situations.
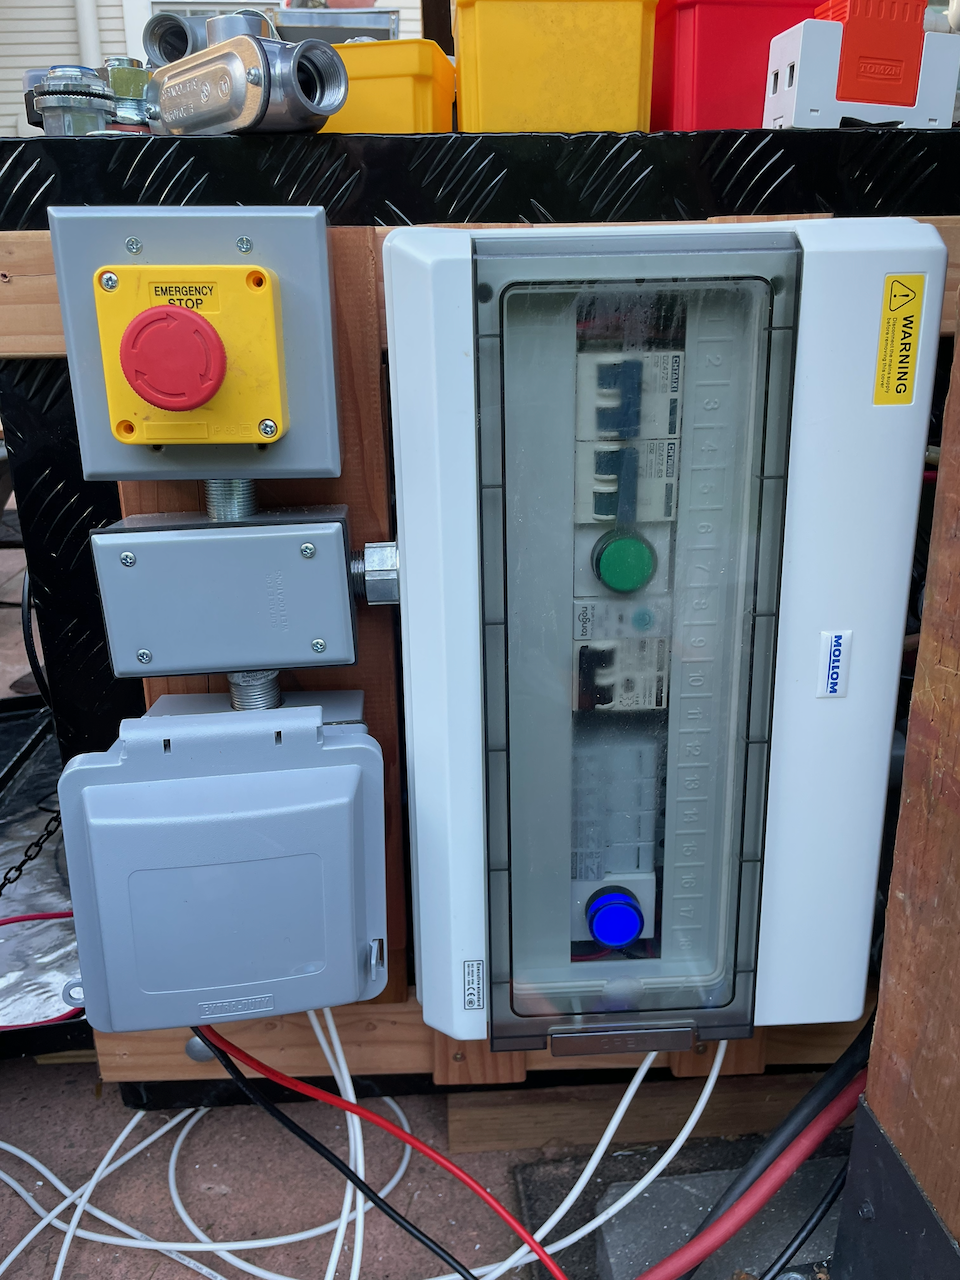
The core characteristics of a PowerVault are a central main vault where electrical equipment is housed, a circuit breaker and junction box, and a front panel providing AC outlets and inlets. Solar power or other DC power is connected to a vault with outdoor-capable PV wires or through conduit.
This writeup is after building several of these with varying characteristics. These varying characteristics include:
- Vault Organization:
- AIO-Vault (battery/solar/inverter)
- Component-vaults (e.g. batter/solar separate from inverter).
- Note this does not refer to the system components in the vault
- Insulation
- System Aspects:
- System Voltage
- Inverter Power
- Storage Capacity
- Component brands and aspects
- Manageability
The build examples here will be from three vaults:
- Vault-1: A 12V AIO vault
- Vault-4: A 48V Solar Harvester (MPPT and Batteries)
- Vault-5: A 48V Inverter (with space and components to be an AIO)
All three vaults have similar design aspects with Vault-4 being the most sophisticated as well as the largest (24x24x30) although Vault-1 is actually the newest as it was rebuilt (fully replaced, just kept the name) after refining design aspects in Vault-4 and Vault-5.
Note that these are pictures of running systems: excuse the mess :-)
Table of Contents
Vault-1: AIO
Vault-1 is a simple 12V system with a 1200W inverter, a 100Ah LiFePo4 battery, a 100/20 MPPT, several AC power outs, and several monitors and controls (DC shunt, AC energy meter/switch, temperature probe, Victron Cerbo, etc.)


Core Structural Aspects
A Vault is structurally based on Truck “Tool Boxes”. Vault-1 is an aluminum 17”x18”x30” (depth-height-width) Underbody Tool Box and specifically this product: Arksen 192928026887
To transform the Tool Box into a Vault we need to:
- Frame the inside
- Frame the outside
- Connect between the two
Framing the inside
Framing the inside when there is no insulation involves:
- Providing a floor
- Providing walls for the inside structure (for Vault-1 a single full-span shelf)
- Providing support for the outside frame
The inside framing is done mostly with 3/4” plywood. Backerboard for the components is a separate aspect and is done with HexPly so the framing can be more basic.
The floor is solid plywood to help rise up the base to the lower lip edge. This subfloor is also a reasonable place to put insulation (under the plywood) as both a temperature and moisture barrier against the cold ground that the vault could be resting on. In most cases references to insulation will be to XPS although a fully-insulated vault (e.g. Vault-4) uses other materials as well.
The walls are also solid 3/4” plywood to provide strength for the outside frame and also suitable shelf support on the inside.
Framing the outside
The outside is primarily framed with ‘rails’: either redwood or cedar planks that will be bolted with 3/8” bolts through the aluminum to the inside. The advantage of using rails is:
- Readily accessible and less-expensive weather-resistant materials
- The inside wall becomes the primary stencil/template for the system and ‘disagreements’ (misalignments) can be avoided. A rail only has two holes, so it is easy to have the two rails agree with the inside wall frame.
- Esthetically fairly attractive and sturdy
Connecting the inside to the outside
The build uses stencils to have the basic dimensions ‘carved’ onto the other pieces, but this stenciling is progressive and ultimately the inner wall becomes the ‘statement of truth’ that will be applied to tool box and the outer rails.
The most important aspect for this is to make sure the precision on the truth is sufficient for aligning and cutting (drilling) other pieces. This precision goes from:
- 1/8” ‘Narwhal’ pilots
- 1/4” ‘Arbor’ pilots
- Actual holes sized for purpose
‘Narwhal’ pilots are used for anything that needs a fairly precise pilot, especially Forstner bits. They are also used for sanity checks since having a misplaced 1/8” hole is easily rectified and commonly consumed by the final actual hole.
‘Arbor’ pilots are the official pilots for the hole saws, which are used extensively for conduit fittings and providing space around the fitting.
The Stencil and Build
The critical positioning to get right are the structural 3/8” bolts going through the side walls. These need to be spaced from the edge and other internal positions sufficiently to prevent collisions with the floor, the potentially present insulation, and any fittings. They must also have sufficient edge distance on the inner framing wall and outer rails for both grip and washers. Combining that with build tolerances give the following template for the 17x18 [this is just an old example… numbers to follow]